Bespoke vs de-facto organisation - prologue

Considerations: This Might Not Be for Everyone
As we're getting more serious about becoming a product design company with Albastru Creative, a massive office reorganisation was in order.
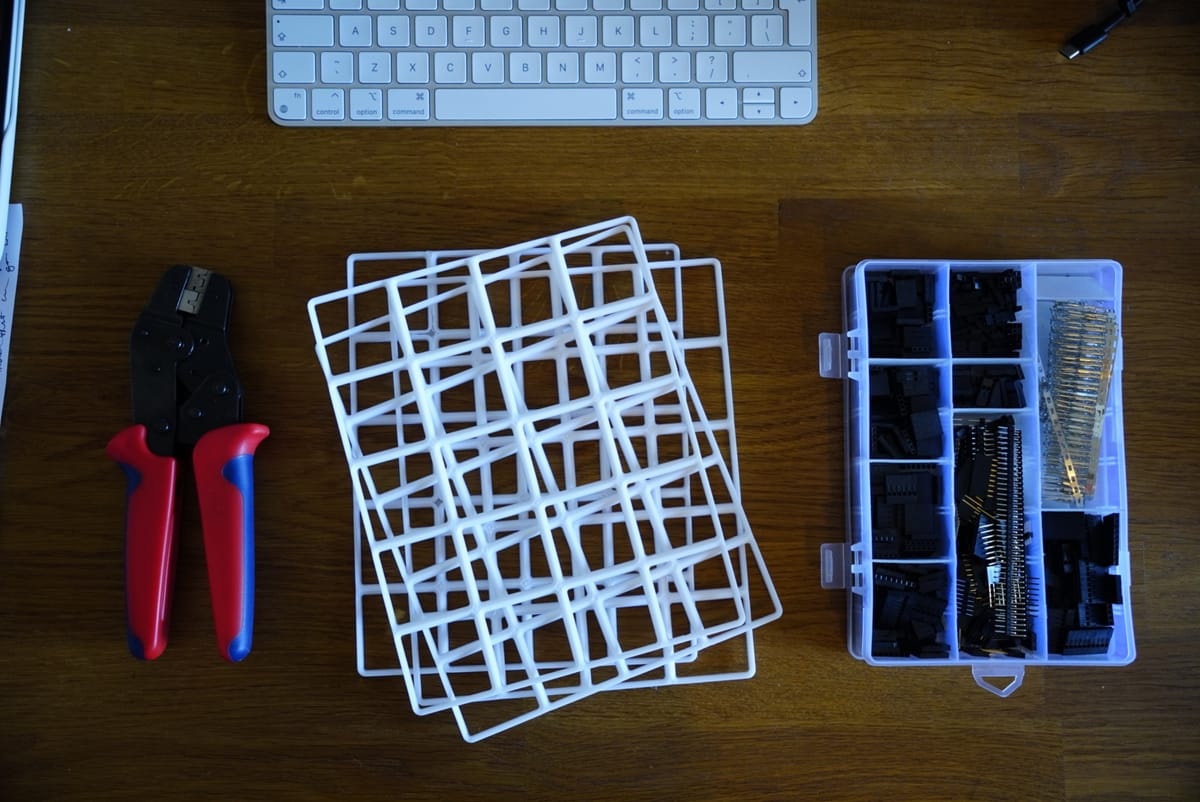
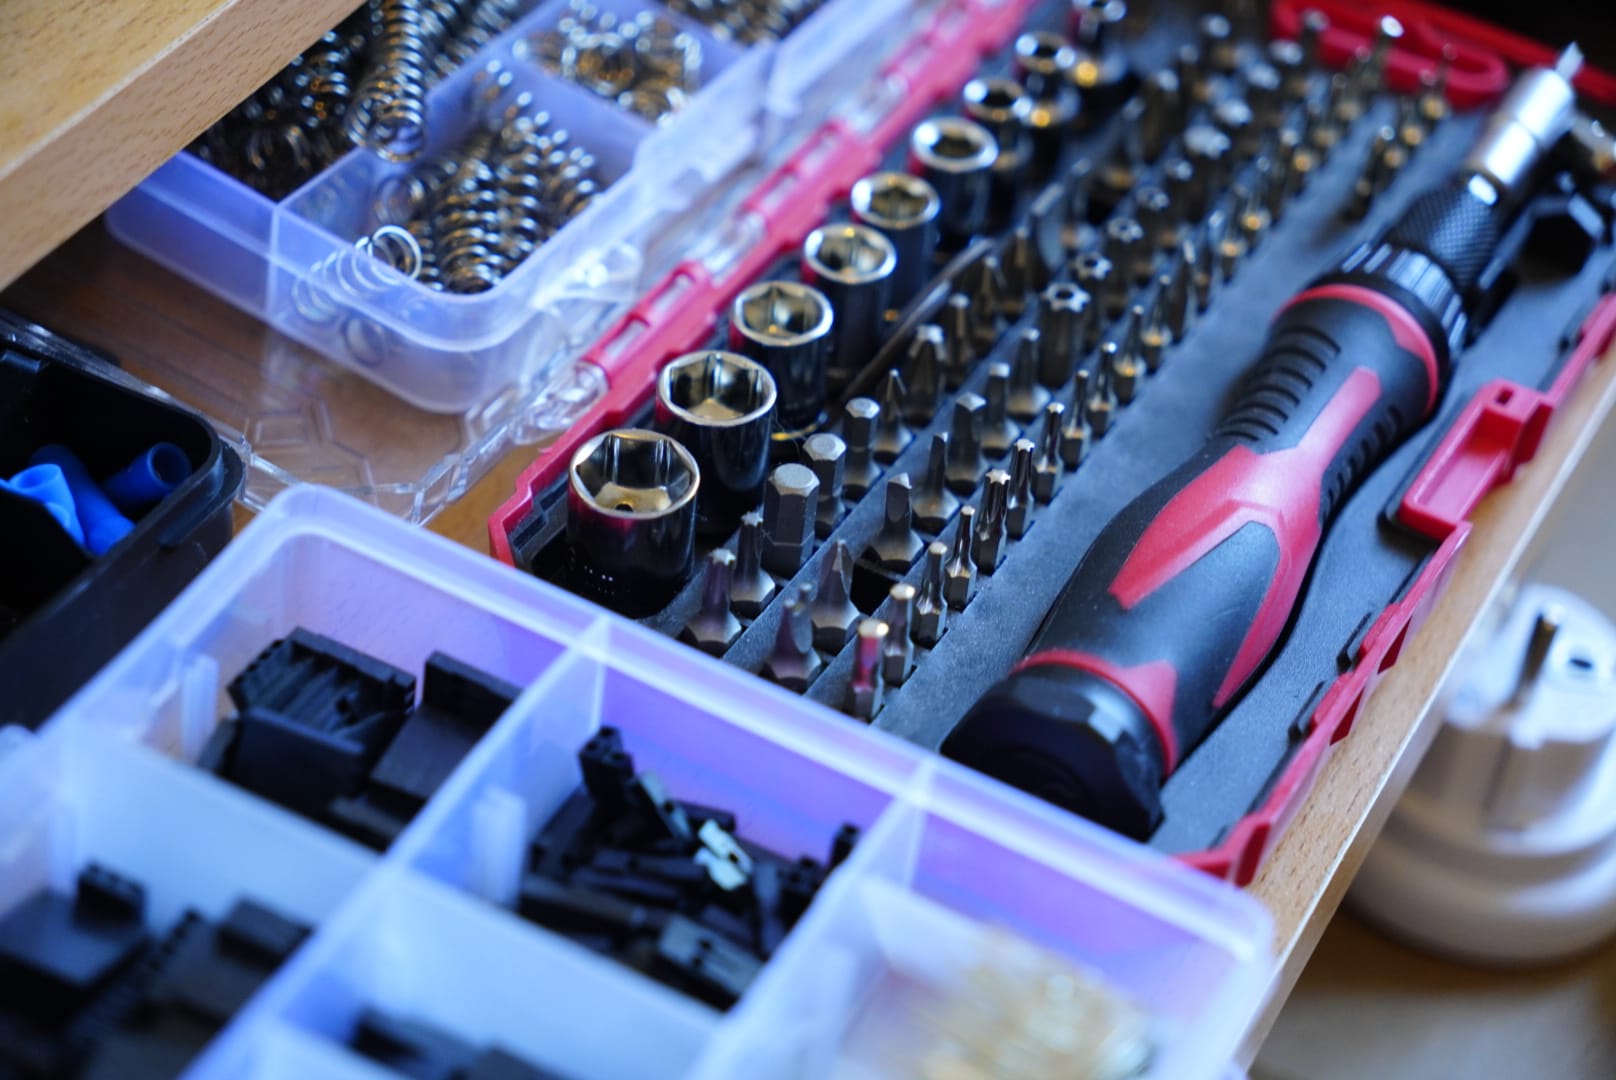
To effectively prototype and iterate through designs, I need a variety of components, which I’ve been slowly accumulating—mechanical bits and bobs (screws, magnets, fasteners, ball bearings), electronics (chips, resistors, capacitors, microcontrollers), chemicals (like silicone for moulds, glue, tapes), materials, and filaments.
Each of these comes with its own organisation system when shipped, and all require their own tools.
So far, I’ve relied on these de facto schemes. There are benefits to this approach that resonate with me, especially:
- You shouldn't wait for the perfect desk, office setup, or organisational system—jumping in usually yields results, and everything else follows.
- We work with limited time and resources—so instead of sinking hours into designing an organisational system, I’ve focused on working on actual product ideas and prototypes.
However, I realised I need something better to tie everything together in a harmonious way that encourages productivity and creativity, with as little friction as possible.
Why?
- The de-facto boxes and dividers different component sets come in are fine in isolation. When combined together, these are a mess to manage in a small home office/ workshop/ lab - nothing meshes and there's a lot of wasted space.
- Effective prototyping means dealing with an expansive universe of pieces. Retrieval of the right piece for the job is a 3-step process and is actively hindering the creative process. I have found that true productivity only occurs when frustration is minimised.
- Learning to become a better organiser has compounding effects and I have no doubt it will benefit me in other business areas as well.
- Deliberate, conscious organisation means taking ownership of the space, engaging with all the things we own, increase mindfulness, appreciation and recall. It will increase the joy and grounding. I know - a little too esoteric but it's true.
Ok, so we're doing this. But what does "this" mean for me and my business needs. It means a system that is...
- Scalable - up and down, to fit the weird space/ volume I have to work with
- Open source - so that I can design/ customise to my tools and components set
- Simple - I won't be able to dedicate my life to this, it's just an enabler for bigger things
- Horizontal and vertical - tools vertical and components horizontal, that's the way
- Defaulting to first-order retrieval - i.e. I can glance, just reach in and grab what I need (no need to move boxes, open lids, dig through)
- Really clearly laid out - i.e. allow labelling
- Compatible to deploy with our existing capabilities - i.e. PLA fed 3d Printing, label printer, etc.
Enter HSW + Gridfinity!
I did some research - there are some really cool systems out there but I wanted to stick with my requirements. Most failed the complexity and the open source tests - both of which are really important.
You may land on other options, but 2x prevailed for me and I'll be using them in tandem.

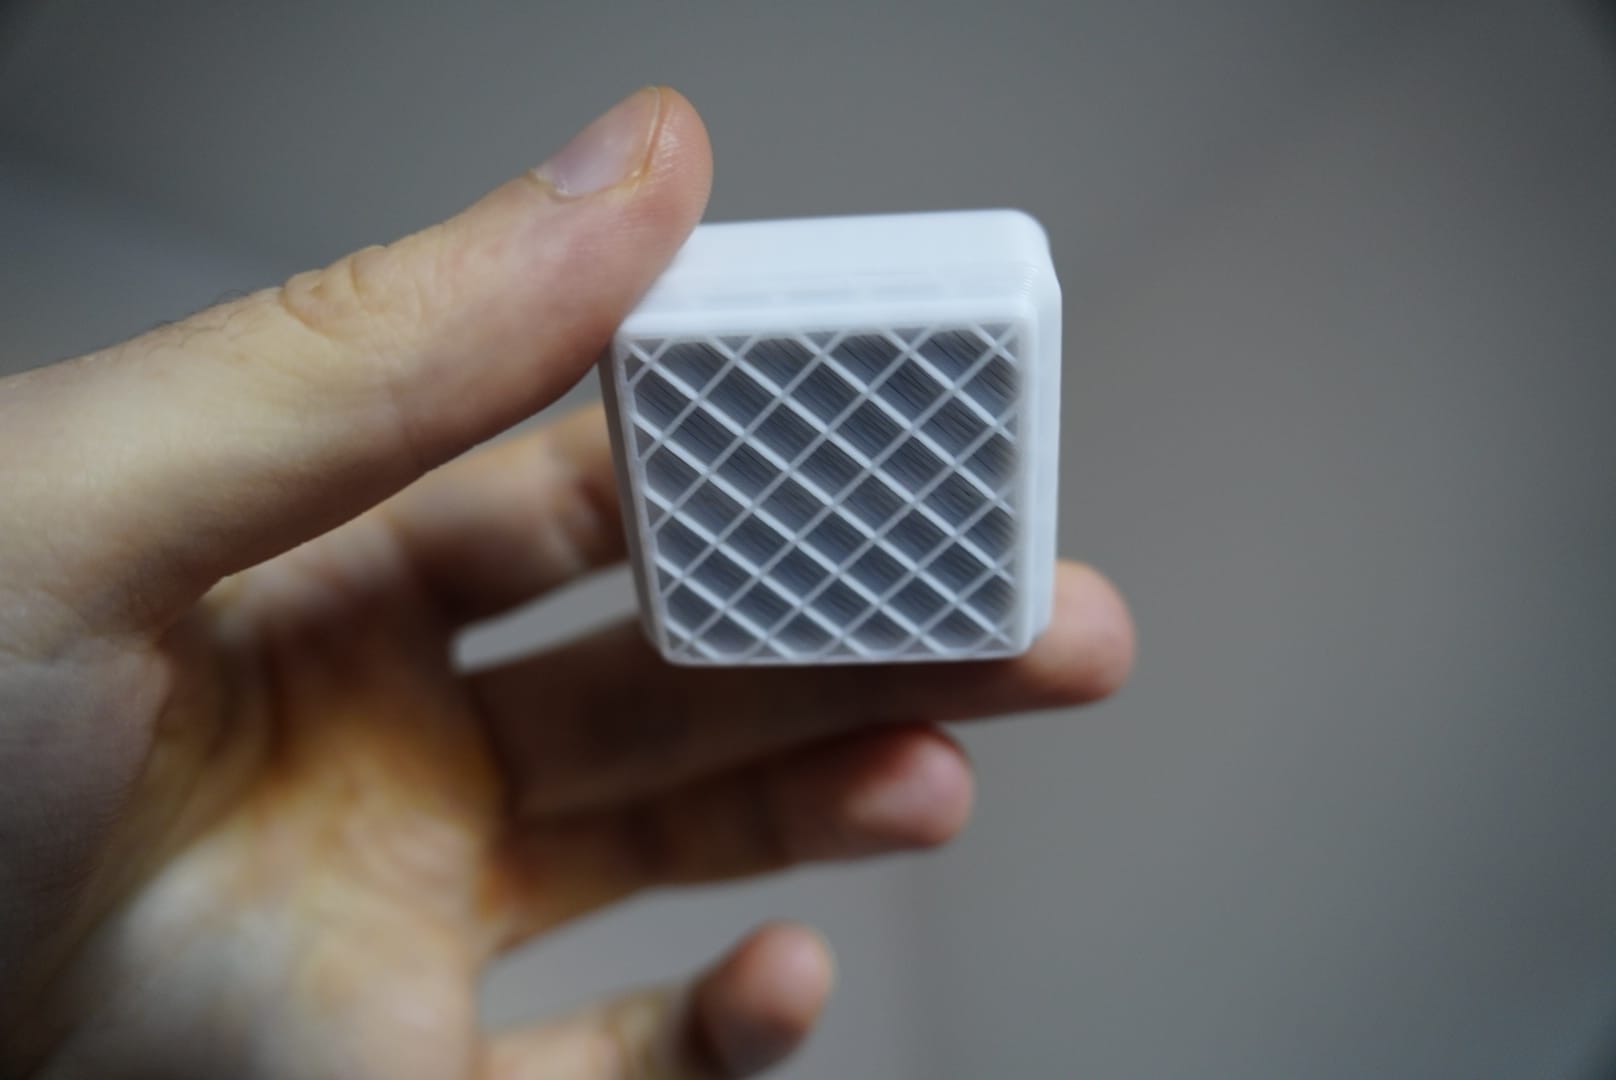
Gridfinity
This is a modular, grid-based organisation system designed to optimise workspace storage and efficiency.
Primarily used for organising tools, materials, and small items, Gridfinity leverages a consistent rectangular grid pattern to create a highly customizable, scalable storage solution. It's ideal for workspaces like offices, workshops, or makerspaces, as it allows users to design layouts that fit their exact needs while maintaining order and accessibility.
The grid is made out of 42x42mm cells - the component is referred to as a "baseplate" - within the standard dimensions, there are different versions of this to suit your needs (some that click in, others that include magnets - I was only interested in the super light ones, to minimise printing costs).
On top of the baseplate/ grid, there are the bin. These are basic shells/ cells to put items into. Dimensions are standard, with height being usually a multiple of u (where u = 7mm). This is to maintain consistency.
Bins are highly customisable as well - custom dimensions, but also features (like ability to stack on top of each other, dividers, cutouts, labels, etc.)
I have gathered a lot of pre-made resources and blueprints on this, which I have shared with you at the end of this. Having just started using the system, my recommendations would be:
- Print out a baseplate and a variety of basic bins/ holders/ inserts. It's hard to conceptualise/ visualise the whole thing otherwise.
- To save filament, you can print bins without a bottom shell, as long as you make sure they're well anchored on the plate.
- Remember you can stack bins on top of each other - use that to tidy less-used components away (but maintain some logic, since they won't be visible).
- I would be very skeptical of more exotic/ complicated designs - start simple and scale from there. Remember Gall's law and agile.
Gridfinity scales vertically by stacking bins on top of each other, but the main dimension is in the horizontal. Thus, I found it to work best for bins of components.
To conquer the vertical dimension, we need a complementary system.
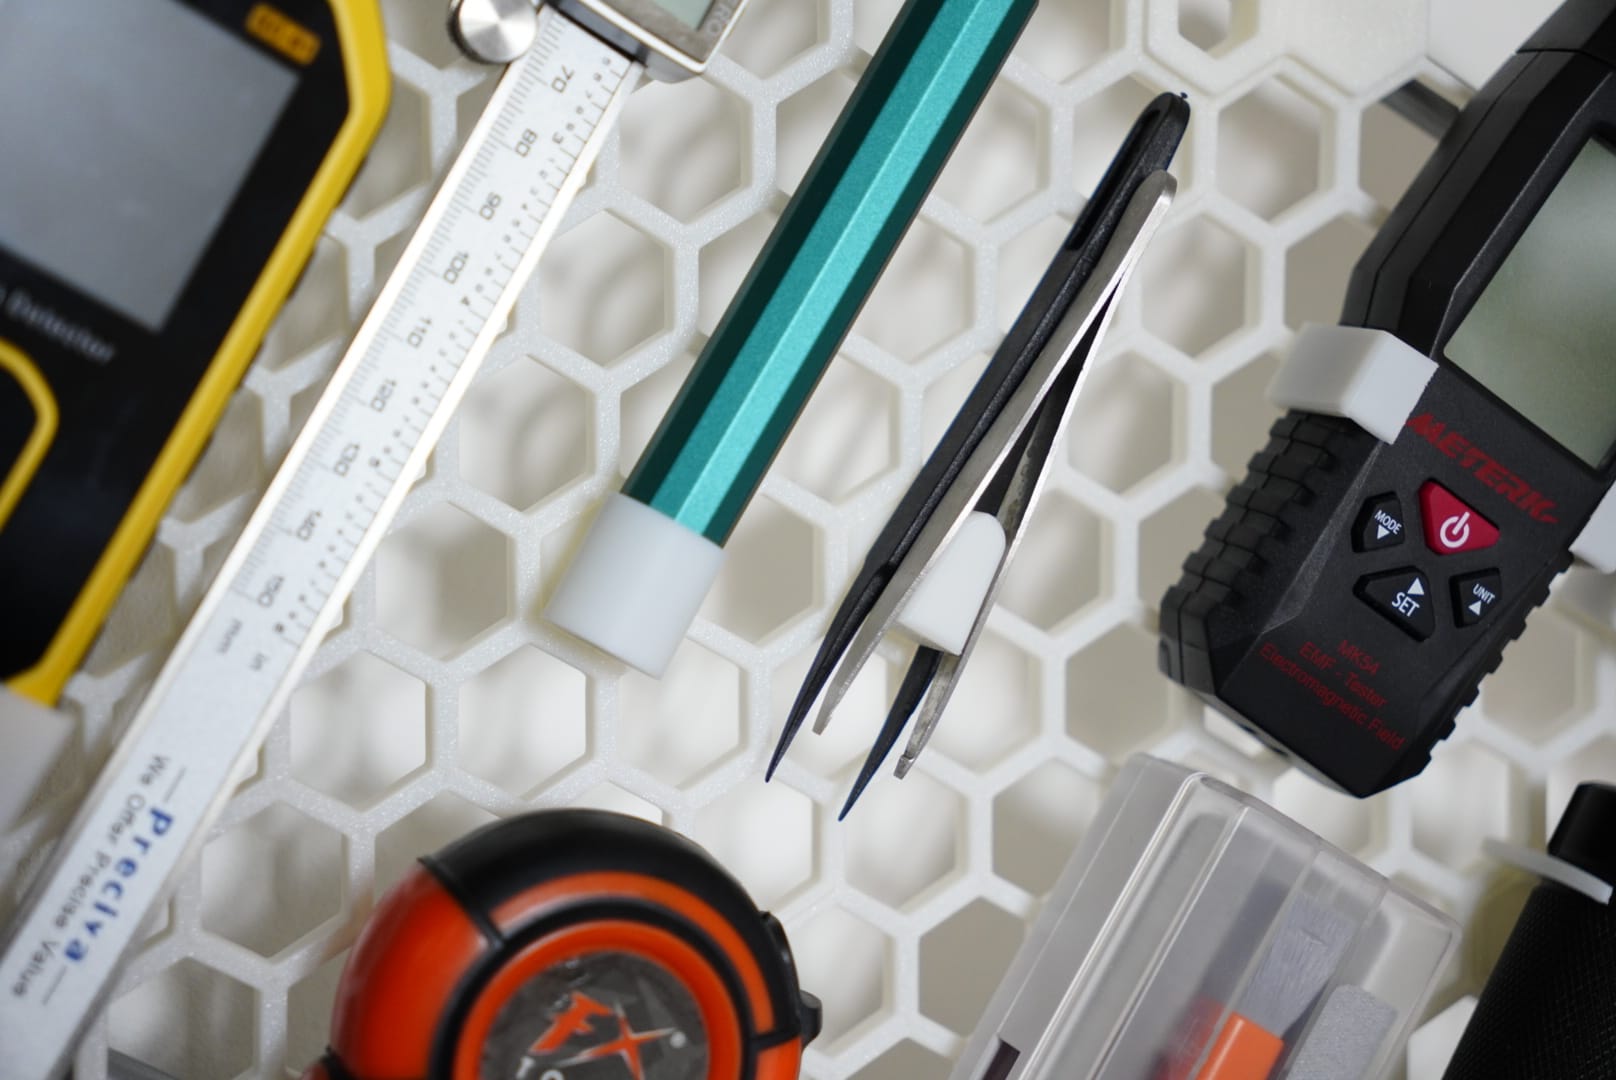
Honeycomb Storage Wall (HSW)
The Honeycomb Storage Wall system is a modular, customisable storage solution designed to maximise vertical space utilisation in office environments.
The system is based on hexagonal units referred to as "cells", which come in at a consistent depth (10mm) and size (20mm).
Inside these cells, users can add various inserts or leave them open (it's a pretty pattern). These inserts can be basic shells, drawers, holders, or specialised compartments.
Same as for Gridfinity, I have gathered some cool HSW resources and linked the main ones below. My tips if you want to get into this:
- Don't go for anything complicated - just print the basic honeycomb section and a hand full of simple hooks and connectors.
- Make sure you affix it to your surface in the right orientation - the floor should be parallel with the flat side of the hexagons, instead of their points.
- Think carefully about anchoring this - google around, since people have invasive and invasive methods (e.g. there are sturdy panels that can just sit up right)
- Consider the ergonomics of what you're doing (e.g. are you left or right handed? What tools will you reach for most? How much space do you need around each tool to grab it easily and confidently?)
Parting thoughts
Between Gridfinity and the HSW, I have a complete set for my needs! With only the first batch of prints off, I can already see some benefits.
In case you want to follow along, subscribe for subsequent updates on this and to see how the clutter transforms into order (and how that order enables creativity).
And, in case this inspired you to start on your own journey, let me save you a few hours of work!
Below are some references I found particularly helpful. I would encourage you to look up the systems - there are many who shared their end results and that should give you an idea about if this is for you or not. Enjoy!
Gridfinity references - all free and open source
- Original Vision Video Essay (some is now outdated)
- Subreddit
- Gridfinity standard design reference (basically the dimensions)
- Fusion360 free plug in
- OnShape free plug in (it's called custom feature)
- OpenSCAD free generators here, here, and here
- Online bin/ baseplate generators here, here, and here
- Gridifinity catalogue on Github
- Contour generation (for those tools that require a custom fit)
- Superlight Base I used (and they also have some extras inside the description)
Honeycomb Storage Wall references - all free and open source
- Original maker (plus dimensions)
- Reddit community
- Onshape feature
- OpenSCAD free generator for wall and insert
- HSW + Gridfinity integration e.g. with this base and structure
(there are less resources on the HSW, but it's really simple to pick - I can show you some of my designs in the next article)